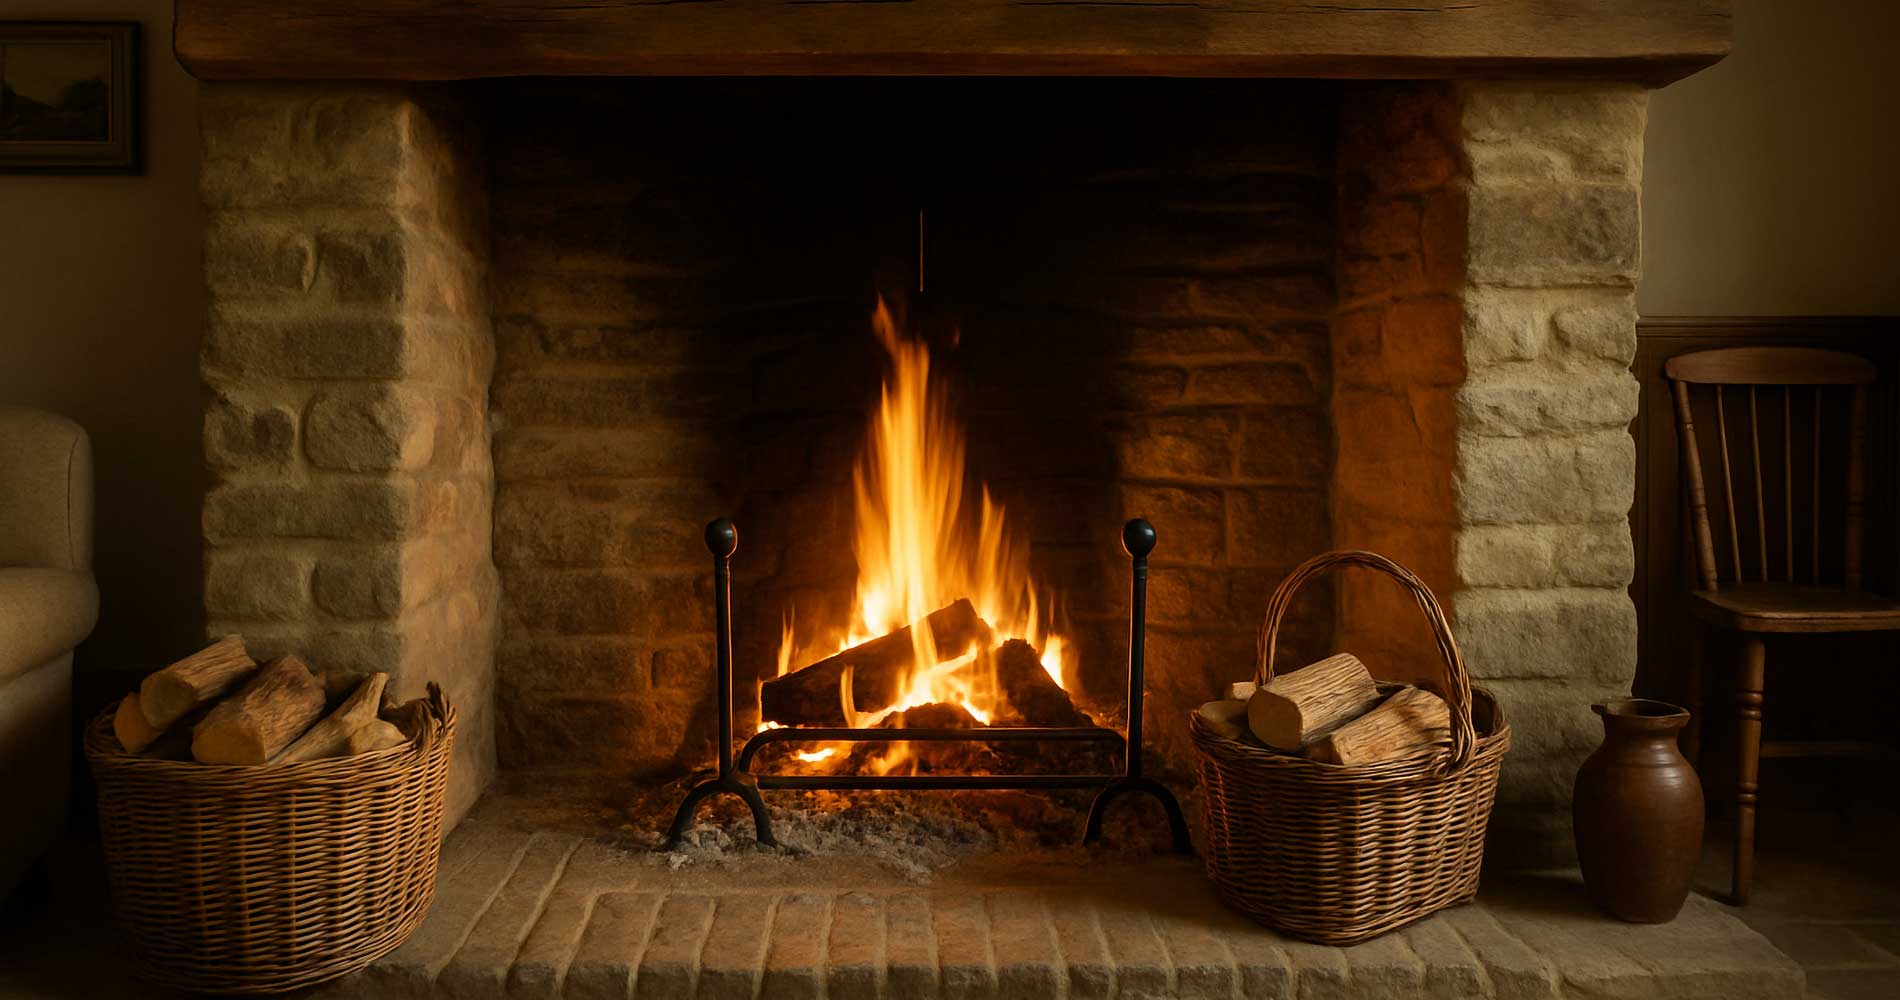
Ready to Add Some Heart to Your Home?
Fancy a flickering flame in your lounge but unsure where to begin? Installing a fireplace might sound daunting—electrics, hearths, vents, building regs—but it really isn’t rocket science. With the right plan, a little care, and maybe a helping hand from a pro now and then, you can bring real warmth and style to your living space.
Whether you're swapping out an old unit or adding a brand-new feature, this guide walks you through from planning to first flame. It’s thorough, friendly, and designed to keep you safe without overwhelming you. Ready? Let’s get that fire ready.
Step 1: Plan & Prepare
Before you swing a hammer, it all begins with thoughtfulness. Planning properly saves time, money—and stress.
- Choose your type: Gas, electric, wood-burning or bioethanol? Each needs different ventilation and services.
- Check regulations: UK building regs require proper ventilation, hearth depth and fireproof materials. Double-check with your local authority.
- Measure carefully: Decide where your fireplace goes. Measure wall height, floor load capacity, proximity to combustibles.
- Services planning: Gas and electric need professional connection. Wood burners may require flues and chimney inspections.
- Prepare your area: Clear the room, lay down dust sheets, and cover furniture thoroughly.
It might feel tedious—but taking the time now means fewer surprises later.
Step 2: Build or Prepare the Opening
If you’re replacing an existing fireplace, you may need to update the framing or remove old components. Starting fresh is easier—just build your opening to the fireplace manufacturer’s specs.
- Frame the opening: Use timber or steel studs; ensure it supports the weight of the mantel and fireplace.
- Apply fire-rated boards: Especially around wood-burning and gas units, to protect surrounding walls.
- Ensure level and plumb: Use a spirit level—tilted fireplaces look messy (and they affect airflow).
- Install hearth: Required under some units. Must be non-combustible and free from drafts.
Once frame and enclosure are ready, you’re halfway there.
Step 3: Venting & Hearth Requirements
Proper airflow is essential— for safety and efficiency. Here’s where many DIY jobs fall down.
- Chimneys and flues: Wood and gas burns need a clear flue. You may require a liner and a cap to weatherproof it.
- Air vents: Some gas or wood stoves need a trickle or purpose-made air vent to bring in combustion air.
- Hearth depth and zoning: Check the manufacturer’s instructions—depths can range from 300mm to 450mm in front.
- Surround and mantel protection: Keep combustible materials far enough back or protected with insulation/designated spacers.
Venting might sound dull—but it’s the difference between cosy nights and carbon monoxide risk. Don’t skip this bit.
Step 4: Fixing the Fireplace in Place
Now comes the fun bit: mounting the fireplace. Again, follow the specific instructions for your model—and always keep things level and secure.
- Secure brackets: Most units come with a fixing kit. Drill, align, screw—make sure it’s stable.
- Plumb level: Double-check after tightening—once plaster is added, adjustments are a chore.
- Add hearth materials: Stone, tile, or slate can go down now—just ensure they’re non-combustible and flush.
- Fit finishing surrounds: Wooden or stone mantels often affix externally—secure them firmly, following spacing guidelines.
A secure install means no wobble, no drafts, and no surprises later.
Step 5: Connect the Services
This is where you may step back and let a professional take the wheel—especially for gas and electrics. But it’s good to understand what happens.
- Gas-safe seal confirmation: Gas stoves must be installed by a Gas Safe registered engineer. They’ll run leak tests and certify the unit.
- Electrical hook-up: Electric inserts normally need a fused spur or plug socket. If unsure, always involve a qualified electrician.
- Commissioning: Professionals will light it, calibrate the pilot/thermostat and run a safety check.
Don’t skip this. Safe connections matter more than neat finishes.
Step 6: Trial Fire & Finishing Touches
Moment of truth. Time to light the fire—carefully.
- Read the manual: Follow the lighting sequence exactly as the manufacturer dictates.
- Check airflow: Watch the flame—steady, blue (gas) or controlled (wood) flames mean good draft.
- Check for smoke or smells: A little odour is normal on first use, but persistent smoke? That’s a problem.
- Clean-up: Remove labels, dust, packaging—don’t burn it later!
A well-lit fireplace with no odd smells or smoke creeping into the room? That’s success.
Step 7: Regular Maintenance & Safe Enjoyment
Installation’s only the start. Like a well-loved piece of furniture, fireplaces need care.
- Annual inspection: Especially for gas and wood units. Soot, wear, degraded seals—all need proactive attention.
- Keep it clean: Dust or sweep the hearth weekly; deep clean glass, logs, surrounds every few months.
- Vent checks: Flues and vents should stay unblocked—and C02 detectors must be live.
- Fire safety: Keep the area clutter-free. Use fireguards if you’ve pets or small children.
With the right care, your fireplace looks great—and keeps your home safe and cosy.
Final Thoughts: From Planning to Flicker
Installing a fireplace is a big project. But break it into clear steps—planning, framing, venting, installing, connecting, lighting—it becomes utterly manageable. And the result? A space that gives glow, warmth and memory. That’s worth a little effort.
If you hit a tricky part—like gas lines, electrics or tricky building regs—it’s smart to call in a pro. But do the parts you can, understand everything, ask questions. You'll end up with a fireplace you installed yourself—and that’s something to feel properly proud of.